
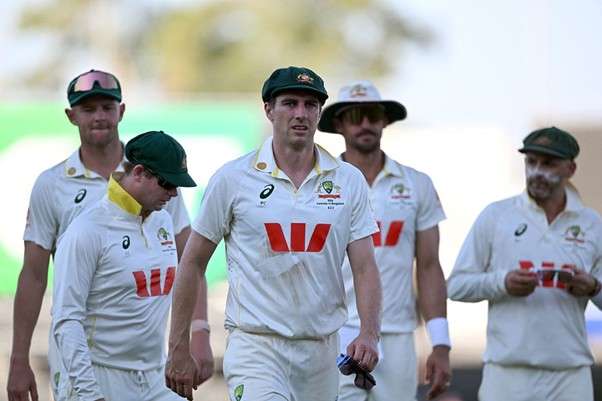
Fresh off a comprehensive 214-run win at Kingsmead, Durban, Australia will aim to seal the series…
Continue ReadingTag: Steve Smith
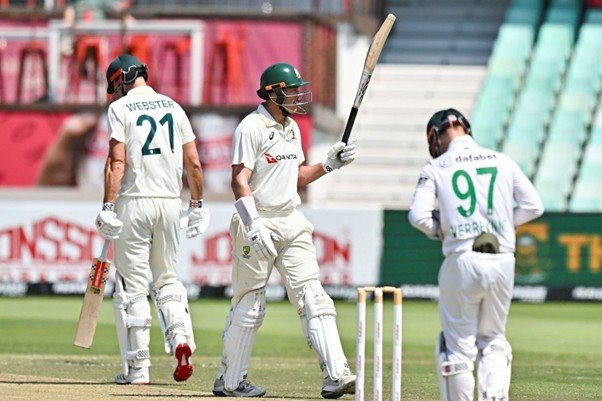
SA vs AUS: Matthew Renshaw & Josh Hazlewood Rips Proteas
Matthew Renshaw dazzled under pressure at Kingsmead, Durban, as he shone with both bat and ball…
Continue Reading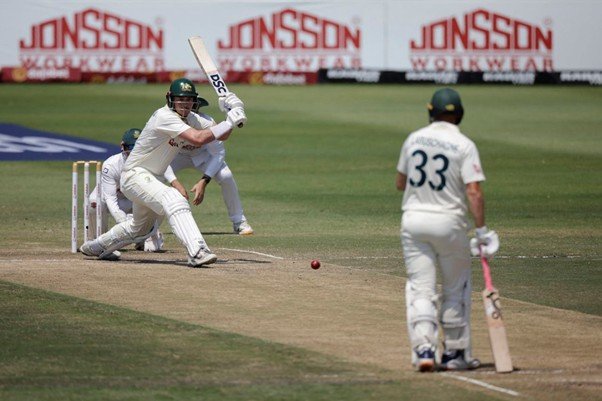
SA vs AUS: Matthew Renshaw’s Stellar All-Round Show Sinks South Africa Deeper
On an action-packed day in Durban, it was Matthew Renshaw who stole the show with his…
Continue Reading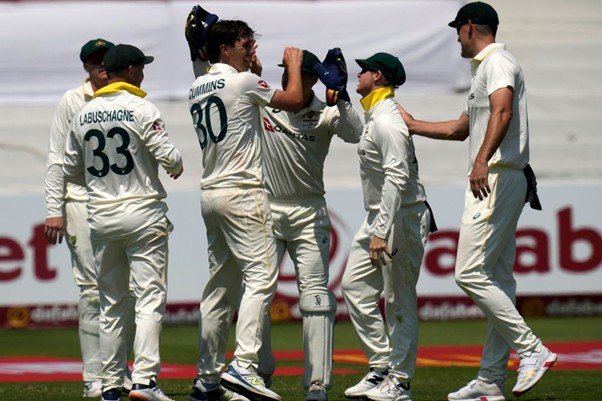
SA vs AUS: Australia Skittle South Africa & Assert Dominance
Australia strengthened their position on Day 3 of the first Test against South Africa at Kingsmead,…
Continue Reading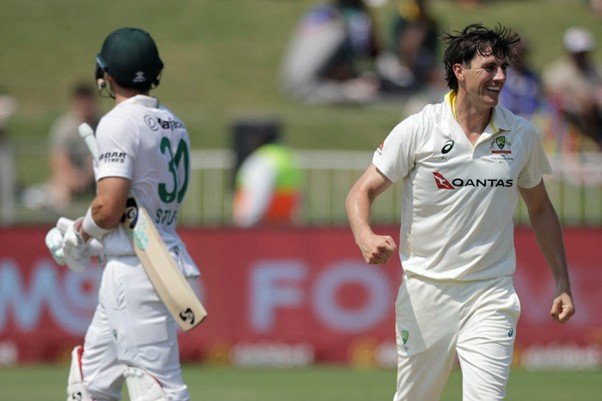
SA vs AUS: Pat Cummins Leads Australia’s Charge On Day 3
Captain Pat Cummins led from the front with his 3-wicket haul and marshalled his troops really…
Continue Reading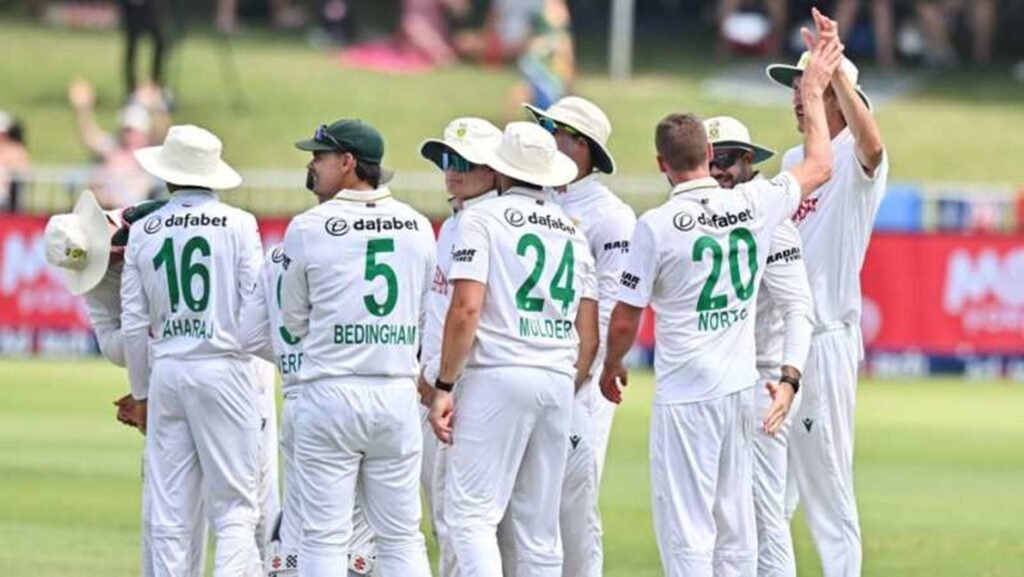
SA vs AUS: Marco Jansen’s 3-Wicket Haul Derails Australia
South Africa’s speedster Marco Jansen stood up when it mattered the most and picked up 3…
Continue Reading
SA vs AUS: Australia Aims To Take Revenge Against South Africa
The stage is set for a cracking 3-match Test series as hosts South Africa and Australia…
Continue Reading
SA vs AUS: Marnus Labuschagne Keeps His Place For Tests
Ace Australian batter and under-fire Marnus Labuschagne has been included in the 16-man squad for the…
Continue Reading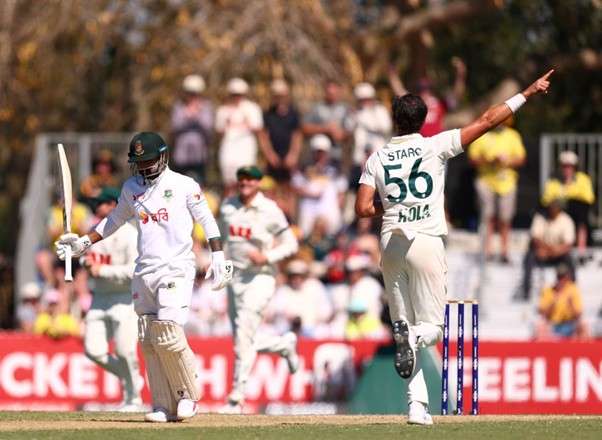
AUS vs BAN: Mitchell Starc Destroys Bangladesh In Two-Day Test
Test matches rarely move with the violent speed witnessed at the Great Barrier Reef Arena in…
Continue Reading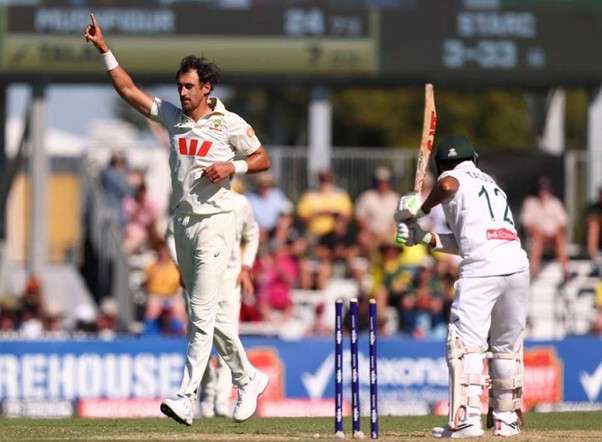
AUS vs BAN: Mitchell Starc’s 10-Wicket Haul Levels Series
Left-arm pacer Mitchell Starc stood up and was counted as he single-handedly led the Australian attack…
Continue Reading